 In this post, we summarize questions and answers from GTC sessions with NVIDIA’s Kaggle Grandmaster team. Additionally, we answer audience questions we did not get a chance during these sessions. Q: How do you decide which competitions to join? Ahmet: I read the competition description and evaluation metric. Then I give myself several days to … Continued
In this post, we summarize questions and answers from GTC sessions with NVIDIA’s Kaggle Grandmaster team. Additionally, we answer audience questions we did not get a chance during these sessions.
Q: How do you decide which competitions to join?
Ahmet: I read the competition description and evaluation metric. Then I give myself several days to think about if I have any novel ideas that I can try on. If I do not have any interesting ideas, then I do not join. But sometimes I just join for learning and improving my skills.
Q: Is mathematics mandatory for winning a competition?
Kazuki: Not mandatory, but you may want to understand the competition metric and how machine learning models work. For example, the linear model and tree model are totally different. So those would generate good results when ensembling.
Q: How do you approach a competition?
Bojan: On the first day, I always submit a sample so that I am on the leaderboard. Traditionally, I have not been very big on data analysis or EDA, which is one of my weaknesses. But recently, I started doing more and changing my approach.
One thing I always do is see how easy it is to ensemble different models in a competition. This dictates my strategy in the long run. If ensembling slightly different models can give a nice boost, it means that building many diverse models is important. However, if ensembling does not give you a big boost, then feature engineering or coming up with creative features is more important in the long run.
One of the strategies is to try to improve a single model as much as you can, and only ensemble once you are satisfied with it.
Jean-Francois: It is a good idea to read what people share in the forum in every competition. This means to read what the host writes, including comments. And to read top solutions in similar recent competitions. Surprisingly, some competitions are won by models that are publicly shared from previous competitions and adapted to the new one. People do not read enough. You can also try to find papers on the topic, especially for science competitions where there are often relevant papers.
Giba: Download the data and run some EDA. Get insights about feature and target distribution in order to find the best validation strategy. Random KFold is usually good for most of the problems, but usually it is necessary to groupedKFold or time split Kfold. Once you find the best validation strategy, run a simple model using it and submit to check the leaderboard score. Usually this is the most important thing in a competition, all metric improvements made locally should be translated to Kaggle leaderboard if validation is robust and made correctly. After that you must work on feature engineering and build a diverse set of models with different dataset and training algorithms. Usually, an ensemble of a model trained with ANN and a GBDT is good enough to rank high in LB. Search for target leakage is unfortunately part of Kaggle competition.
Q: Which deep learning framework would you recommend starting with?
Jean-Francois: I think the best one is Keras because it is very abstract. You can build rather complex models and train them in a few lines of code. Then you may want to move to PyTorch or TensorFlow for two reasons: to have better control of your models and customize your layers as well as the ability to reuse pretrained models. For that, I have the impression that PyTorch is taking the lead. What we do on Kaggle is mostly model prototyping. Maybe today, TensorFlow is better at model deployment, but it is not relevant at Kaggle.
Jiwei: I would add that PyTorch Lightning is a user-friendly package based on PyTorch, especially for new users. It abstracts the details of training and provides convenient APIs for advanced features such as Multi-GPU, TPU, and mixed precision.
Audience poll showed that 66% preferred PyTorch and 31% preferred TensorFlow.
Q: How do you prevent overfitting when using pseudo-labeling? Is it okay to use that strategy with an ensemble?
Bo: In the recent RANZCR competition, our team won using both pseudo-labeling and ensemble. It’s ok to use both, but you should be very careful doing so in order to prevent overfitting.
- First, you want to split the original data into five folds and split external data into five folds. In both stages, there will be five models.
- In Stage 1, train the model on the original data, and do inference on the external data to have external data prediction. Do this five times.
- In Stage 2, combine the original data (with original labels) and external data (with Stage 1 predictions as pseudo labels) and train the models again.
The important thing is, when we make pseudo labels, we want to make five copies of the pseudo labels. For Stage 2’s fold0 model (trained on combined fold1,2,3,4 and validated on combined fold0), we want to make sure it never had fold0’s information, so the pseudo labels used for this model need to come from Stage 1’s fold0 model (train on original fold1,2,3,4). This way you will never have any leakage.
It is ok to use ensemble together with pseudo-labeling. In the RANZCR competition, we used ensembles in both stages.
Chris: pseudo-labeling is one of the things that I specifically learned at Kaggle because none of the books I had read talked about it. Kaggle is a great place to learn practical tricks like pseudo-labeling.
Q: What are commonly used post-processing techniques? How can I improve my score on multi-label classification problems?
Chris: I’ll take a first stab at this. Recently a Kaggler has called me the Post-processing Grandmaster because I just got my fifth gold medal specifically using post-processing. It was a solo gold medal. [The criteria for competition grandmaster are five gold medals including at least one solo gold medal.] I will share a few secrets.
The first thing is to study the competition metric. Some metrics are called the ranking metrics (like AUC). For these metrics, the absolute predicted values do not matter. Only the relative orders matter. For a multi-label classification problem, the first thing to ask is whether the predictions are ranked per label, or altogether. In the recent Rainforest competition where we predict animal sounds in rainforests, all the predictions are ranked across labels. So it is important that the model knows which animals are common and which are rare.
Other types of metrics are based on mean values, like Mean Squared Error. If the test data have different mean than the training data, shifting the predictions can improve the metrics.
For metrics like recall and precision, you should know their meanings. Always know your metrics. Each metric requires you to do different things and apply different post-processing. Personally, I really enjoy doing this. I come from a mathematical background. Metrics are mathematical equations and I like to think about what is important to optimize.
Bo: I’d like to add one thing. If the metric is log loss, sometimes it helps to clip extreme values. Models can make confident predictions with values close to 0 or 1, but if there are label errors, the penalty by log loss can be huge. So, it may be a good idea to clip the predictions at 0.01/0.99 or 0.02/0.98. But always find the optimal clip thresholds in local validation.
Q: How can explainability be used when working with deep learning ensembles?
Christof: I would say, that strongly depends on the ensemble method. I often use a simple average of single models. So, if single models are explainable, so probably is the ensemble as a simple combination of them. But on the other hand, I agree, that ensembles introduce another aspect to explain, like why specific models contribute more to the ensemble than others despite a mediocre individual performance.
Q: How do you do the hyperparameter optimization, feature engineering and feature selection cycle in practice?
Chris: Personally, I do not spend too much time optimizing hyperparameters. I will explore the important parameters when building XGB or NN models. (For example, I will adjust max_depth, subsample, and colsample_bytree with XGB. And loss, learning rate and scheduler with NN). But when trying to improve models, I will spend more time exploring feature engineering with XGB and data augmentation, architecture design, and/or TTA with NN.
Q: How can you get the best performance out of a Neural Network?
Jean-Francois: Work on data pre-processing (including augmentations) and post-processing. Newcomers often focus too much on hyperparameter tuning or choice of optimizer. I almost always stick to Adam with a cosine learning schedule.
Jiwei: Multi-head multi-loss function is another common trick to improve the performance of NN. It works as a way of regularization.
Bo: I want to point to this great post by Andrej Karpathy where he shared many NN tricks: http://karpathy.github.io/2019/04/25/recipe/
Q: What is the best way to learn from Kaggle as a beginner?
Bojan: Check out the notebooks that people post, read topics that are being discussed, and try running models that are shared and improve them using the ideas that are discussed. These are the few steps that can get you pretty far in your machine learning skills, if not your Kaggle performance.
Bo: A good way for beginners to get started is to team up. Of course, this depends on personality. Some people prefer working alone, like bestfitting. But for many people I think teaming up is a good way to learn because different people have different skill sets. They can often complement each other. You can always pick up a thing or two from each teammate. Of course you need to do some work before requesting a team merge. Do not ask people on top of the leaderboard to team up with you without doing much. Try to ask people who are close to your leaderboard position.
Chris: I concur. I did many solo competitions, but recently I have been doing more teaming up. In every single team-up, I learned stuff. Even if it is as simple as watching how people organize their code, or what computer language they are using. It can just be learning how they approach the problem, or how they set up their experiments. There is just so much to learn when working with someone else that can help you become a better data scientist.
Jean-Francois: Do not be shy. Just jump into the water. You will learn how to swim. There is one last thing I recommend. When you join Kaggle, you are asked to create a user name. You can use an alias if you are afraid your friends or colleagues see you struggle when you begin. That is what I did. I only disclosed my real name once I became comfortable. So just sign up, choose a pseudonym, learn, and try. After a competition, do not just go to the next one. Read what people share. Try to think about what you could have done better, why you could have thought of this cool idea you just read. The few days after a competition end is when you will learn the most.
Q: Do you recommend building your own machine or buying a pre-built system for deep learning?
Jean-Francois: Building is often cheaper, but it requires more skills and time. If you have both then build your gear. There are shops that will build custom PCs to your configuration for you. I personally did not have the time and skills and bought a custom-made PC with a GTX 1080 Ti and was very happy with it. Nowadays, you can find PCs, including laptops, with good GPU from major PC makers.
Jiwei: Another option is an external GPU box. I used to train deep learning models on a laptop, which connected to an external GPU box with a desktop level GPU card.
Q: What do you enjoy the most about Kaggle?
Chris: The community. Kaggle is a unique place to meet great quality data scientists where you cannot elsewhere.
Jean-Francois: Kaggle is definitely the place to go if you want to know the state-of-the-art in modeling actual problems using machine learning. And it is addictive.
Jiwei: To learn new algorithms, new modeling techniques in practice. I find myself more motivated and focused when I can apply new models from papers to solve real-world problems.
Bo: Reading top solution posted by Kagglers after each competition. Every time I can learn some new tricks.
Bojan: It is an amazing platform for learning. I do not think there is any other platform where you can learn as much and as quickly as on Kaggle.
Giba: The ability to work on the most diverse problems, and at the same time to learn and apply the state-of-the-art algorithms to solve them.
Kazuki: I enjoy getting knowledge which I’m interested in.
Christof: To solve very complex problems and come up with innovative solutions.
Ahmet: I enjoy Kaggle’s problem diversity, and I enjoy climbing the leaderboard.
 Developers are encouraged to download, explore, and evaluate experimental AI models for Deep Learning Super Sampling.

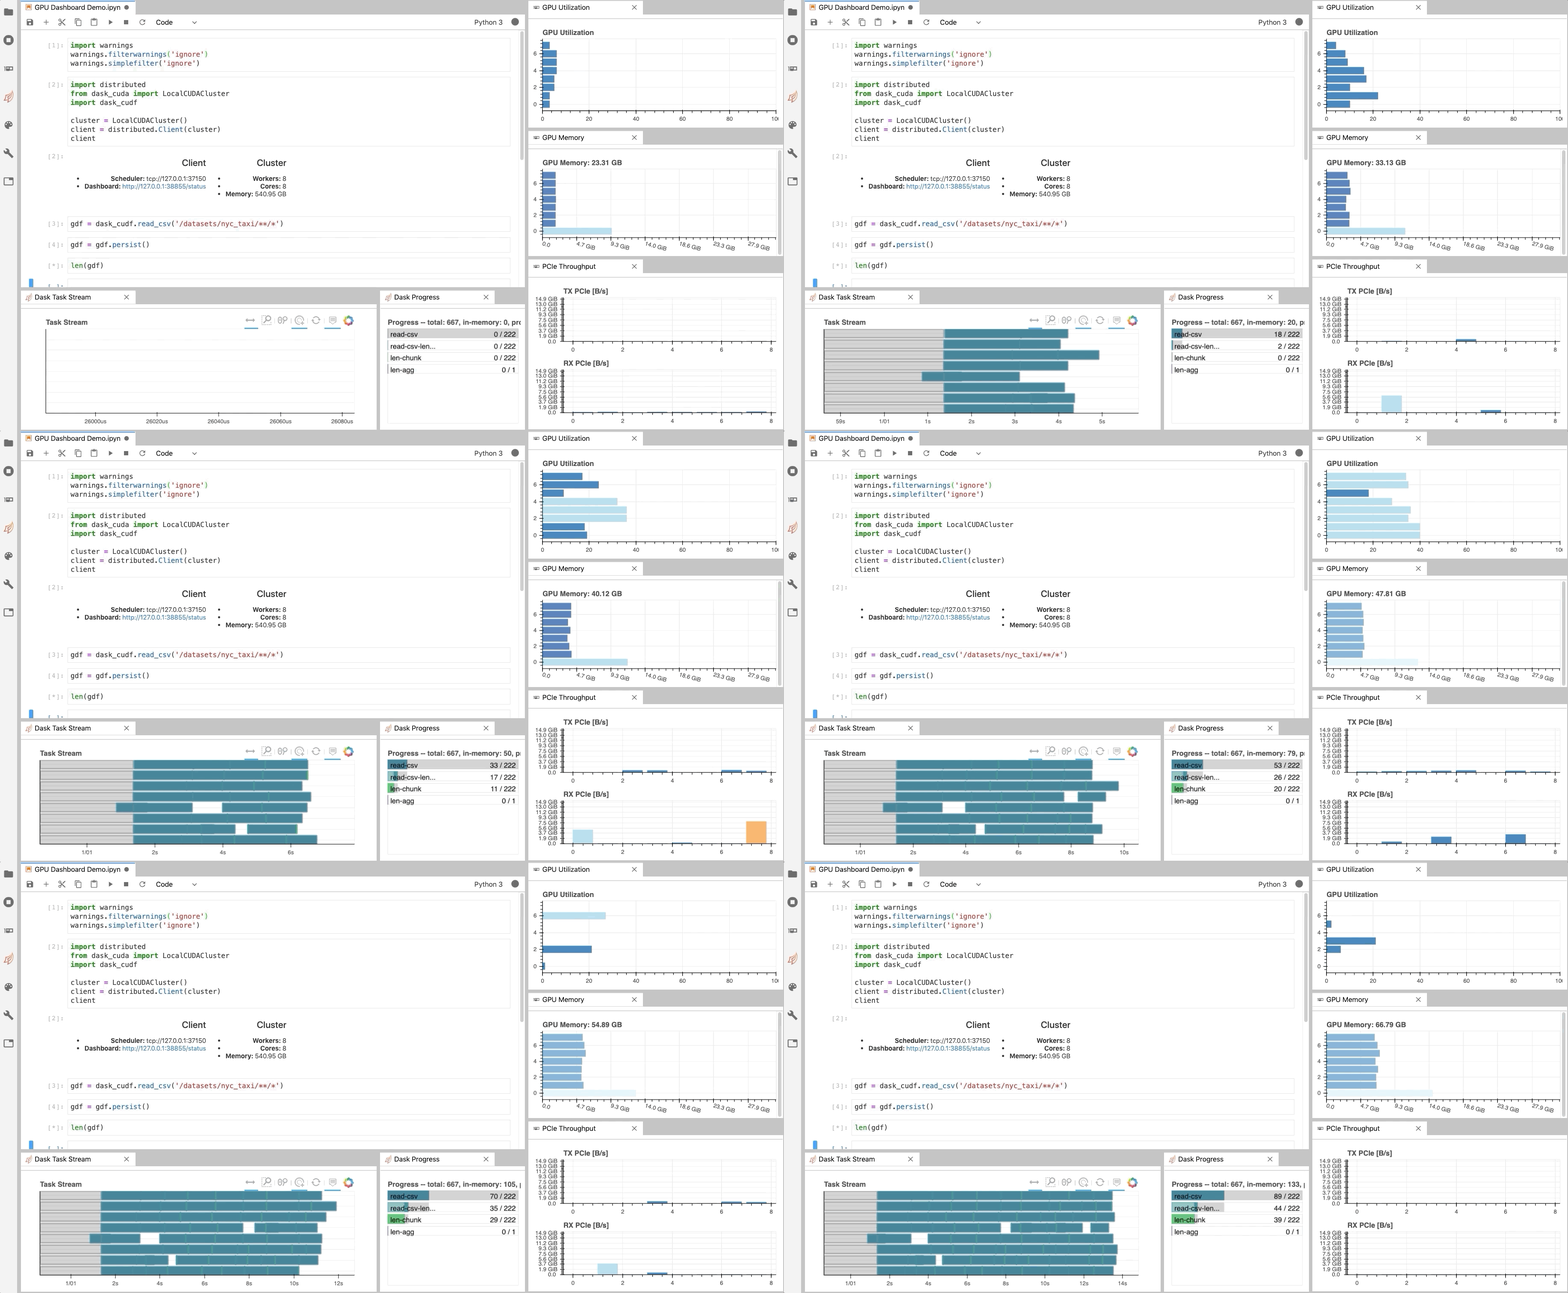
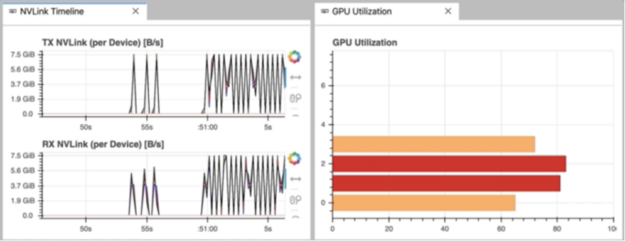
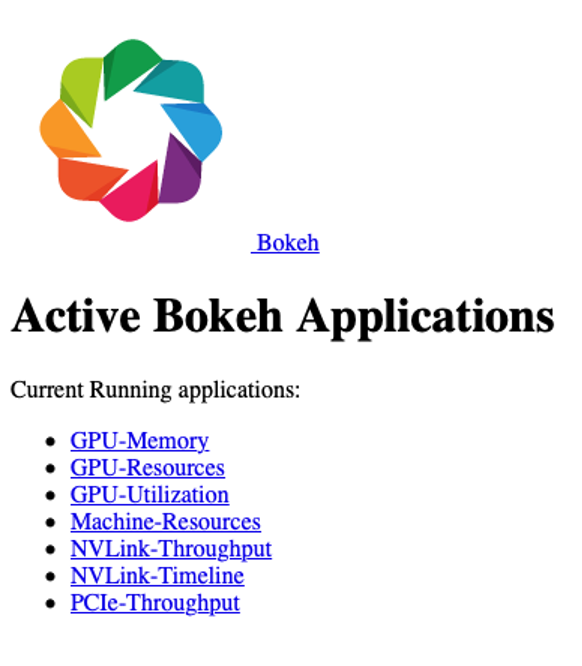
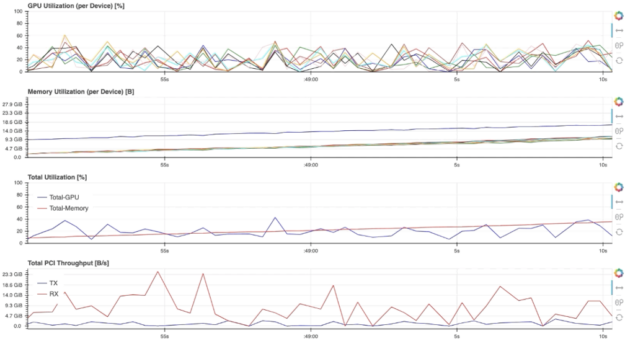
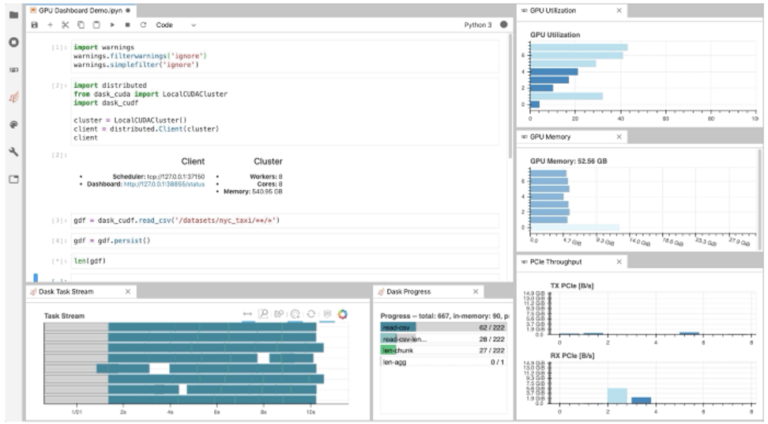 Learn how NVDashboard in Jupyter Lab is a great open-source package to monitor system resources for all GPU and RAPIDS users to achieve optimal performance and day to day model and workflow development.



 In this post, we summarize questions and answers from GTC sessions with NVIDIA’s Kaggle Grandmaster team. Additionally, we answer audience questions we did not get a chance during these sessions. Q: How do you decide which competitions to join? Ahmet: I read the competition description and evaluation metric. Then I give myself several days to …
  Join the Emerging Chapters Educational Series webinar on conversational AI concepts and building efficient pipelines.